Introduction to Halter Top Dress Pattern
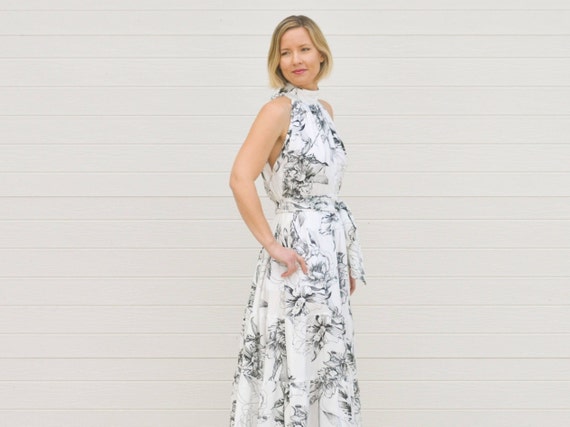
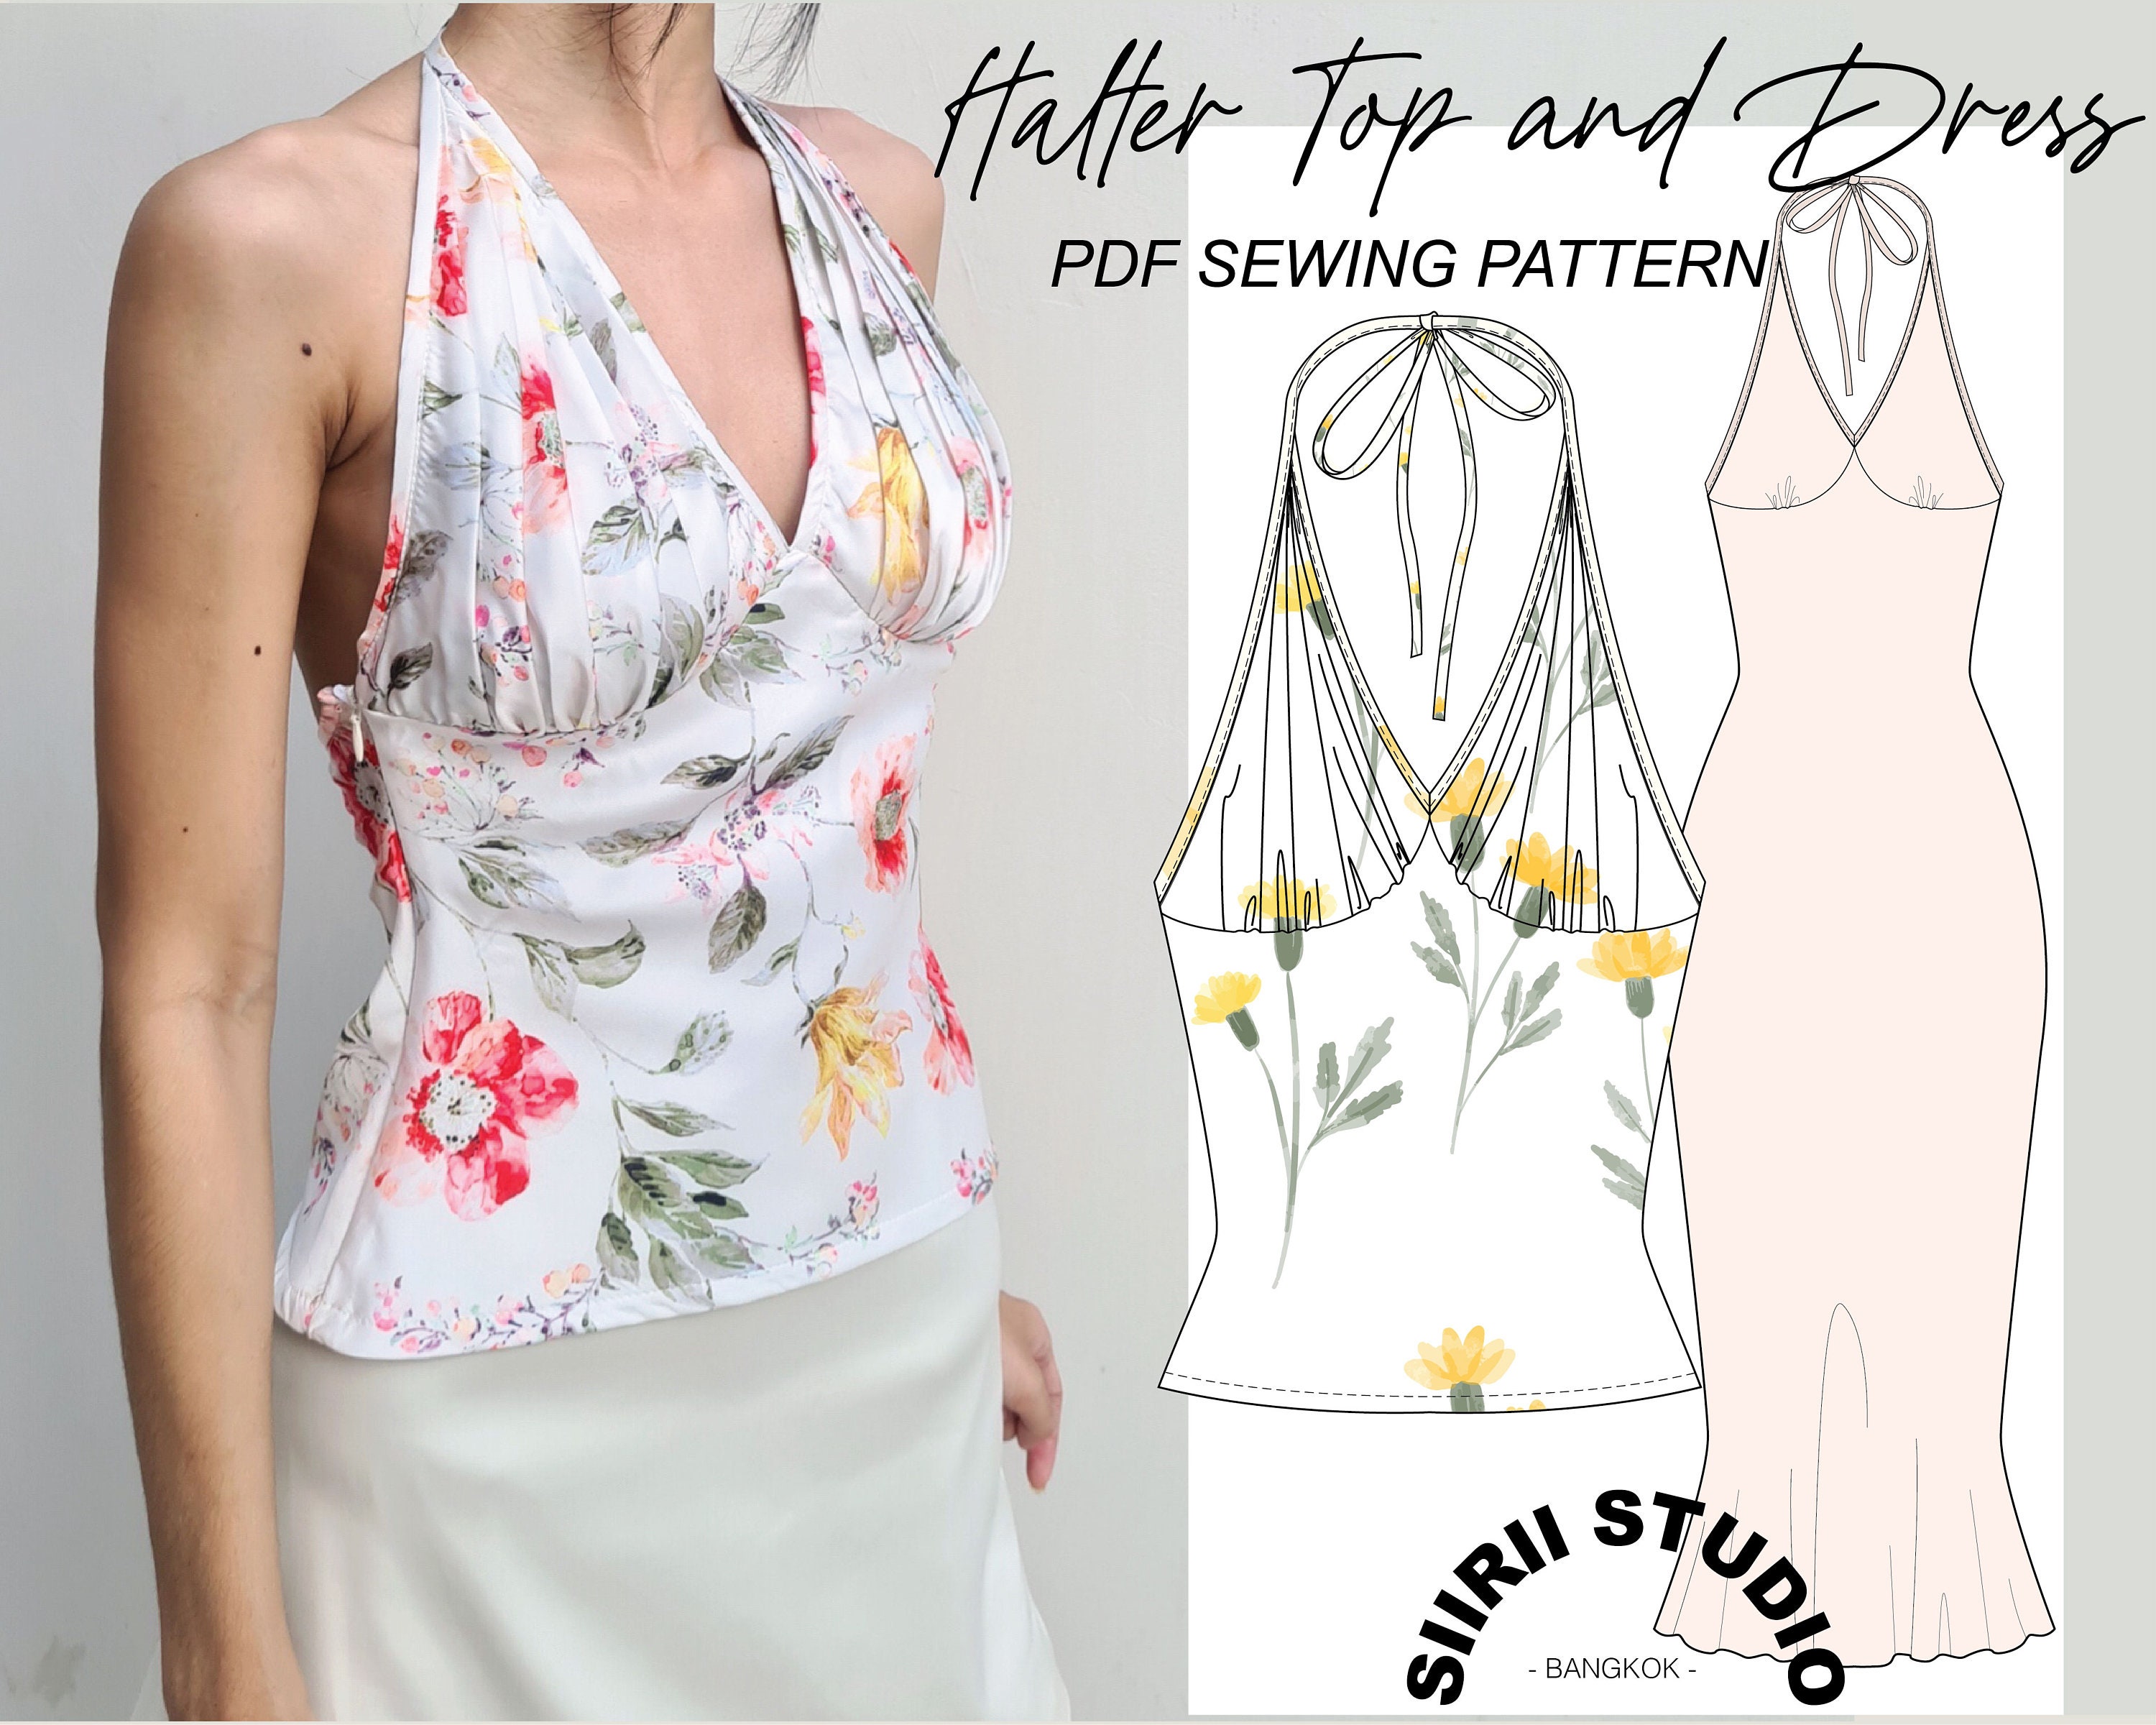
A halter top dress is a classic and elegant addition to any wardrobe. Its unique design, featuring a strap that wraps around the neck, offers a flattering silhouette and a touch of sophistication. Crafting the perfect halter top dress pattern is an exciting project for both beginners and experienced sewers alike. In this article, we will guide you through the process of creating a beautiful and comfortable halter top dress that you can wear on any occasion.
Understanding the Halter Top Dress Pattern
Before you start crafting, it’s essential to understand the different elements of a halter top dress pattern. The pattern typically consists of several pieces, including the front and back bodice, the neck strap, and the skirt. Some patterns may also include additional elements such as a waistband or a lining. Familiarize yourself with the pattern pieces and their respective measurements to ensure a proper fit.

Choosing the Right Fabric
The fabric you choose for your halter top dress will greatly impact the final look and feel of the garment. Consider the occasion and the desired level of formality when selecting your fabric. Lightweight fabrics such as silk, chiffon, or cotton are ideal for summer or casual events, while heavier fabrics like satin or velvet can add a touch of elegance to more formal occasions. Additionally, consider the drape and stretch of the fabric, as these factors will affect the fit and overall appearance of the dress.
Measuring and Cutting the Pattern
Accurate measurements are crucial for a well-fitting halter top dress. Take your measurements carefully, paying close attention to your bust, waist, and hips. Use these measurements to select the appropriate size on the pattern. Once you have chosen the correct size, lay out the pattern pieces on your fabric, making sure to follow any specific layout instructions provided. Cut out the pattern pieces carefully, using sharp scissors or a rotary cutter for clean, precise edges.

Sewing the Halter Top Dress
With your pattern pieces cut and ready, it’s time to start sewing. Begin by sewing the bodice pieces together, making sure to follow the pattern’s instructions for seam allowances and any darts or gathers that may be required. Next, attach the neck strap to the bodice, ensuring that it is securely fastened and lies flat against the fabric. Once the bodice is complete, move on to the skirt, attaching it to the waistline of the bodice and finishing any hems or seams as directed.

Finishing Touches
After the main construction of your halter top dress is complete, it’s time to add those finishing touches that will make your garment truly unique. Consider adding embellishments such as beads, sequins, or lace to the neckline or waistband for a touch of sparkle. Alternatively, you can add a lining to the dress for a more polished look and added comfort. Finally, press your dress carefully to ensure a crisp, professional finish.
With the perfect halter top dress pattern and a little patience, you can create a stunning garment that will turn heads and make you feel confident and beautiful. Happy sewing!


