🎄 A Step-by-Step Journey Through Bucilla Tree Skirt Kits 🎄
Introduction to Bucilla Tree Skirt Kits 🌲

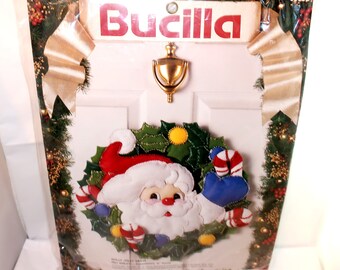
Welcome to our delightful guide on creating a beautiful tree skirt using Bucilla kits! Bucilla is renowned for its high-quality needlework kits, and their tree skirt kits are no exception. These kits are perfect for those who love to stitch and create a festive touch to their holiday décor.
What You’ll Need 🧵

Before you begin, gather all the materials provided in your Bucilla tree skirt kit. This typically includes:
- Pre-printed fabric
- Embroidery floss
- Needle
- Instructions
Ensure you have a pair of scissors and a small embroidery hoop to assist with your project.
Preparing Your Workspace 🛠️

Set up a comfortable and well-lit workspace. Organize your materials, and lay out your pre-printed fabric. Attach the fabric to your embroidery hoop, ensuring it’s taut and wrinkle-free.
Understanding the Pattern 📐

Study the pattern and instructions provided. Familiarize yourself with the symbols and understand the order of stitching. This step is crucial for a successful outcome.
Starting Your Stitching 🪡
Begin stitching according to the instructions. Start with the largest areas or the most stable parts of the pattern. This approach will help you build the skirt’s design from a solid foundation.
Adding Details and Embellishments ✨
Once the main parts of your tree skirt are stitched, move on to the smaller details and embellishments. This is where your skirt will truly come to life with added texture and dimension.
Finishing Touches 🖌️
After completing the stitching, carefully remove the fabric from the hoop. Trim any excess threads and inspect your work for any missed stitches or errors.
Creating the Skirt Base 🎨
Follow the kit’s instructions to create the base of your tree skirt. This may involve sewing the embroidered piece to a larger fabric circle or attaching a lining for added durability.
Final Assembly 🔩
Assemble the final tree skirt by attaching a hanging loop or ribbon to the top for hanging it around your tree. Ensure all seams are secure and the skirt lays flat.
Displaying Your Masterpiece 🏵️
With your Bucilla tree skirt complete, it’s time to show it off! Place it under your Christmas tree and enjoy the compliments from friends and family on your beautiful, handcrafted creation.